Etched NASA Critical Space Item Haiku
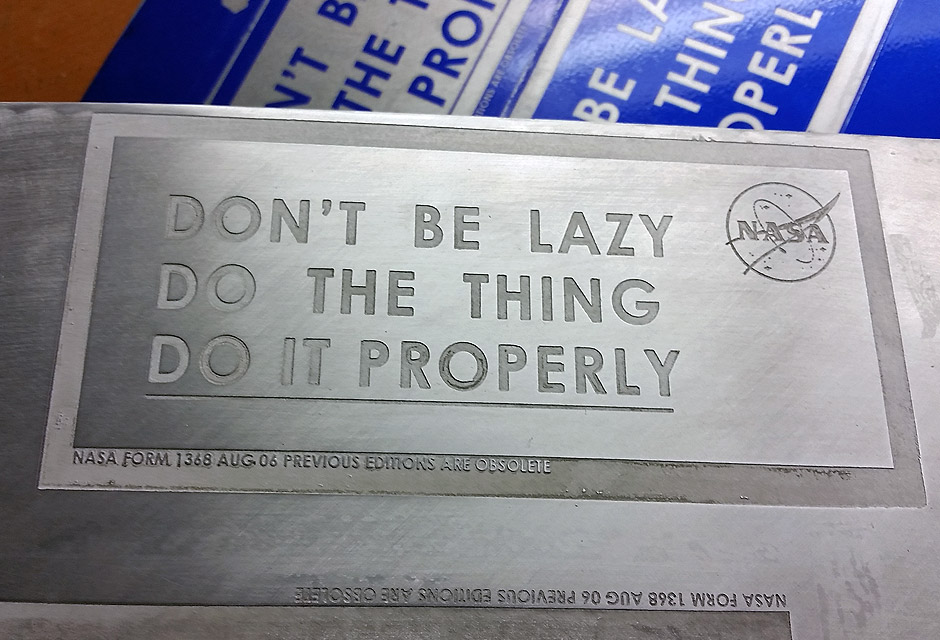
This is literally a 5 second haiku by Simone Giertz, from her "A paper shredder, but make it a brain" video, married to one of those ubiquitous, red, NASA Critical Space Item stickers, etched in aluminum.
At about the 4m44s mark of Giertz's Feb 26, 2020 video, the artist stops, and in her best dad voice says to herself; "Don't be Lazy. Do the thing. Do it properly." It's such a relatable moment for anyone who's ever spent time building things, that I thought; "wouldn't it be funny if NASA had something absurdly official to remind itself not to do things half-assed?"
So I had a go at making one.

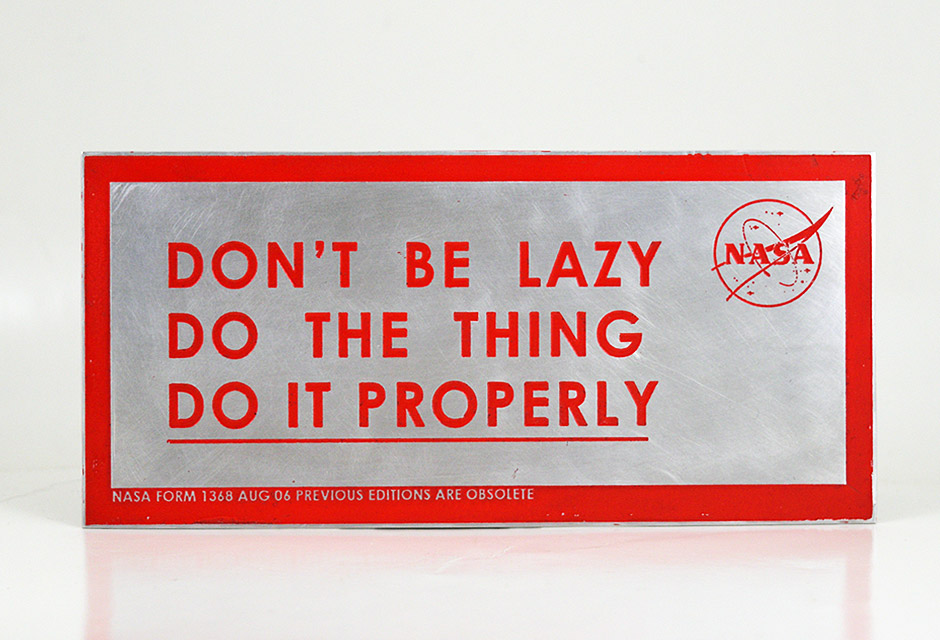
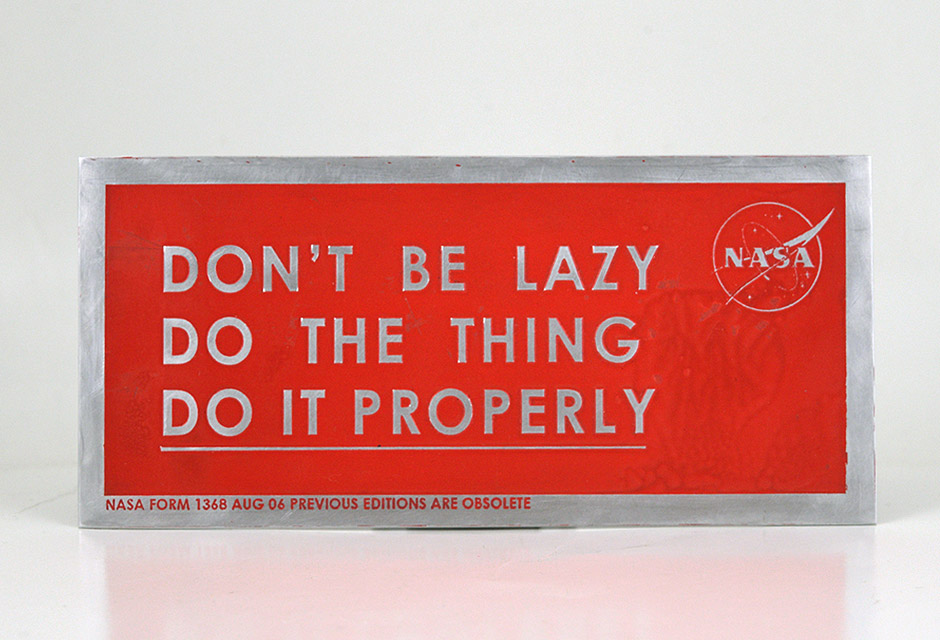
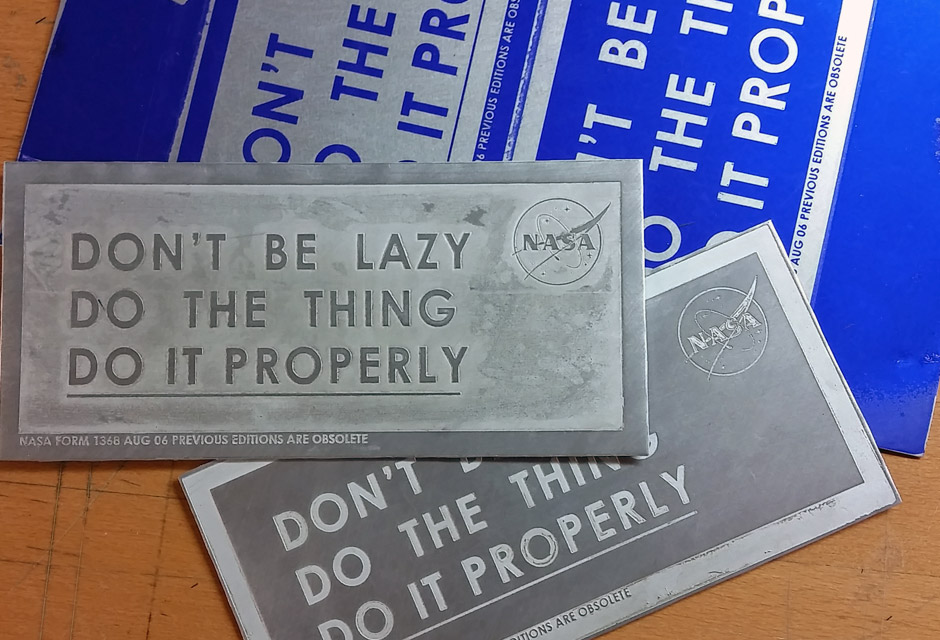
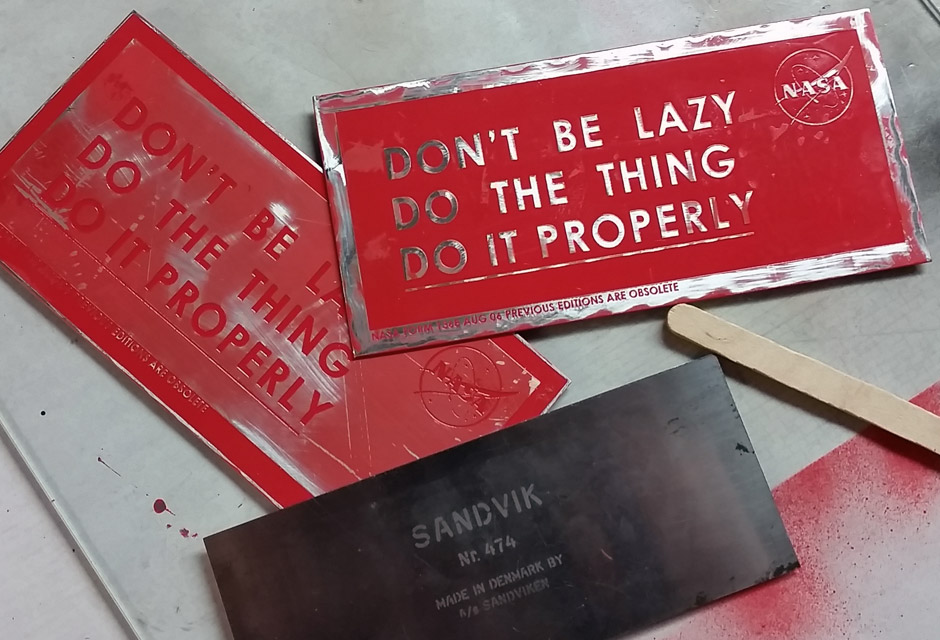
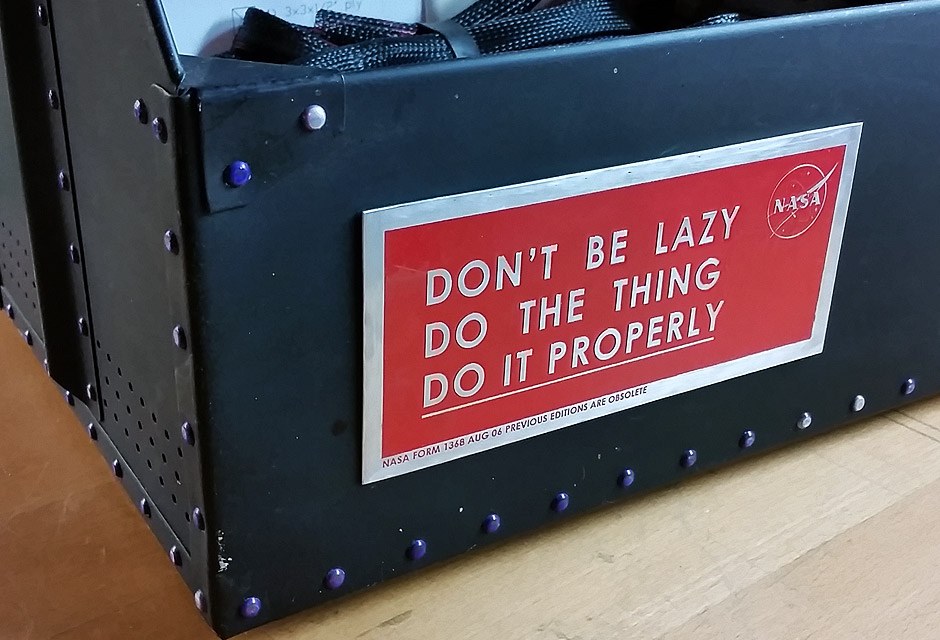
The "Don't be lazy. Do the thing. Do it properly" NASA sign is chemically etched into a 1mm thick, 6-1/2" x 3" aluminum plate, back coloured with red paint as any good warning sign should be. Two signs were made, one with aluminum letters on a red background, the other the inverse.
The Etching
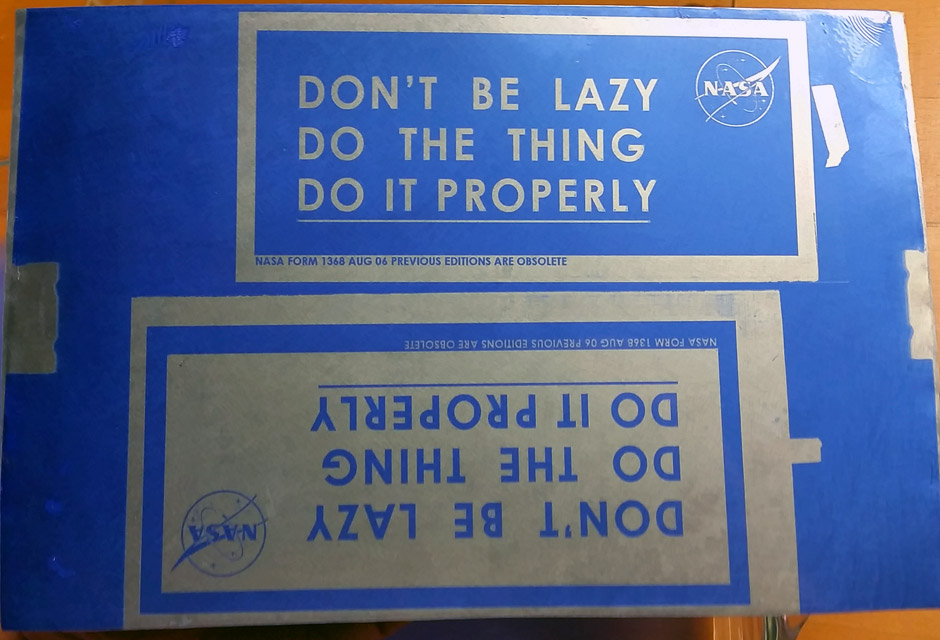
The process for making these signs was not dissilimar to the Spilt Coffee Cup Sketch etching. As in that build, light sensitive photopolymer film is bonded to a prepared metal plate, exposed to UV light with an artwork mask and then developed to remove the unpolymerized film. The photopolymer mask that remains, determines where the etchant will attack the metal.
From there, the process diverges quite a bit though. Etching Brass with Ferric Chloride is dead calm at room temp. Aluminum on the other hand, creates an exothermic reaction with Ferric Chloride circuit board etchant - meaning heat and gas are produced and the hotter things get the faster the reaction proceeds.
The difference in surface area between the two versions of the "Don't be lazy. Do the thing. Do it properly" NASA sign, emphasizes just how volatile that reaction can be. The sign with aluminum letters on an etched background was very difficult to keep under control and the fine lines of the NASA meatball were close to obliterated!

The process of etching Aluminum with Ferric Chloride, went something along these lines;
- Prep metal, apply photopolymer film, expose and develop as detailed in the Spilt Coffee Cup Sketch etching project.
- Apply packing tape to mask off exposed aluminum edges and rear of plate. Attach monofilament loops at either end of the plate.
- Aluminum seems to etch best with the pattern facing downward. Use the monofilament loops to suspend the plate upside down in the etching bath, about 1cm off the bottom. This forces the bubbles that form during the Ferric Chloride-Aluminum reaction to naturally clear the etched pattern of debris.
- At frequent intervals (10-20sec), remove the aluminum plate from the etchant and cool off in a nearby bath of cold water. Use acid brush to lightly run over the etched areas and remove built up debris. The same bath of cold water can be used throughout the entire process.
- The larger the surface area being etched the more volatile this reaction, so it's important to maintain control by frequently cooling the aluminum in a nearby water bath.
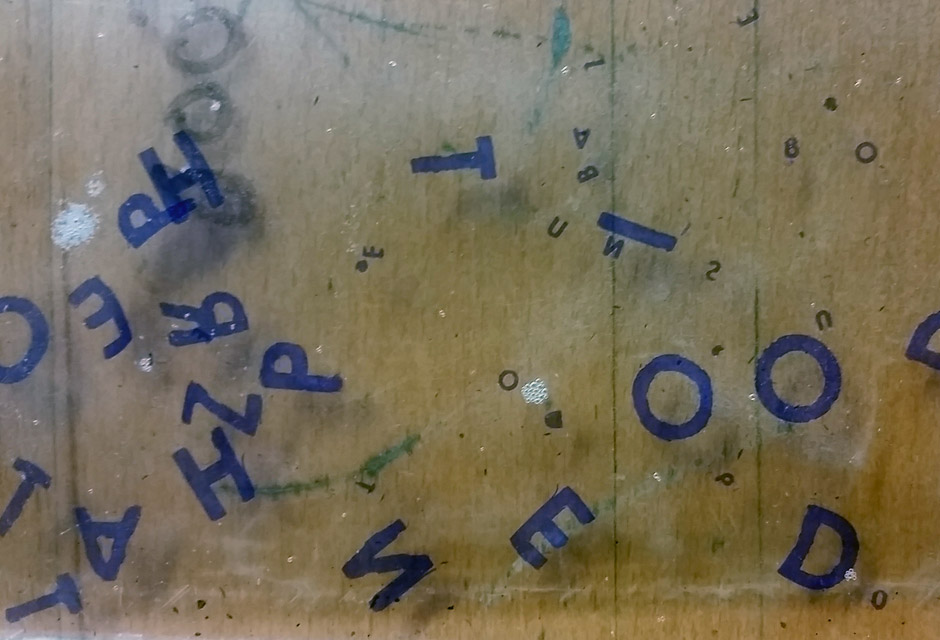
- Repeat the etch-cool-clean-etch steps as many times as necessary, until enough aluminum has been removed. Since the process is very active, aluminum at the edges of the photopolymer film tends to get aggressively undercut. Speed and frequent cooling work best to maintain fine line details. Overheating and over-etching will wipe out fine-line details.
- When an adequate etch depth is reached, the plate is rinsed for 1min in water and packing tape removed. The heating of the metal can make it difficult to remove all the adhesive from the tape. Use solvent as necessary.
- The rinsed aluminum plate was then soaked in photopolymer stripper solution of 10% Sodium Carbonate (ie. 100g Na2CO3 'washing soda' per 1000ml water) for about 30min. The photopolymer mask will float off. Stripper solution attacks aluminum to some degree, leaving a whitish surface texture if the metal is left in for too long.
- Rinse for 1min under hot water, immediately fan dry.
Painting the Background
This isn't necessarily the best method to apply paint to an etched portion of a sign, but I found it workable. Here's the basic process:
- Spray a thin coat of paint on and let off-gas about 3 min.
- Spray on a thick second coat of paint and while still wet, squeegee off as much paint as possible from upper portion of the metal. Light pressure and an acute angle work best to leave the paint in the etched areas undisturbed. The paint will shrink as it dries.
- The squeegee used for this project was a drum wiper scavenged from an expended HP Laserjet toner cartridge. This is a rigid metal plate about 9" long with a firm durometer clear rubber tip that's used to "wipe" excess toner from the Selenium coated transfer drum (the blue or green roller) without scratching it. Any straight, clean edged, reasonably soft plastic will work.
- If there is any failure in achieving a clean wipe, remove all the paint and try again with a fresh blast of wet spray paint.
- Once the paint looks even, the aluminum sign is held over a hot air gun for a few seconds to help quicken the off-gassing. The sign is then placed into a covered container so no dust will contaminate the paint.
- Let dry 1 day.
- Using 800grit wet sandpaper and a flat cork backer, carefully remove the thin whisps of paint still left on the upper aluminum sections of the sign, without scratching the paint in the etched areas below. This method worked for the version of the sign with etched words, but didn't on the raised letter sign.
- For the raised letter sign, dragging a sharp cabinet scraper over the surface quickly removed paint from the letters, without digging into the large painted background area.

Back to Portfolio...